
DIY Fabric Flower Pot

DIY Flower Pot
I love this time of year when the weather warms up and I can move my indoor houseplant collection back outside. It should come as no surprise that I have a flower pot obsession and I am always on the hunt to add a new cute container to my collection. So when I stumbled upon this DIY craft on Pinterest one evening while I was avoiding my email inbox, I loved it.
If you have ever purchased one of those cute ceramic pots, you know they can come with a steep price tag but clay pots (like this) are really inexpensive and are easy to find in your local garden centers or hardware stores. I picked up this whole project for under $10.
I love giving handmade gifts, and who doesn’t love an easy craft that makes your friends think you are a younger, hipper Martha Stewart? The project took about 45 minutes from start to finish and I would give it a 3 out of 10 on the difficulty scale.
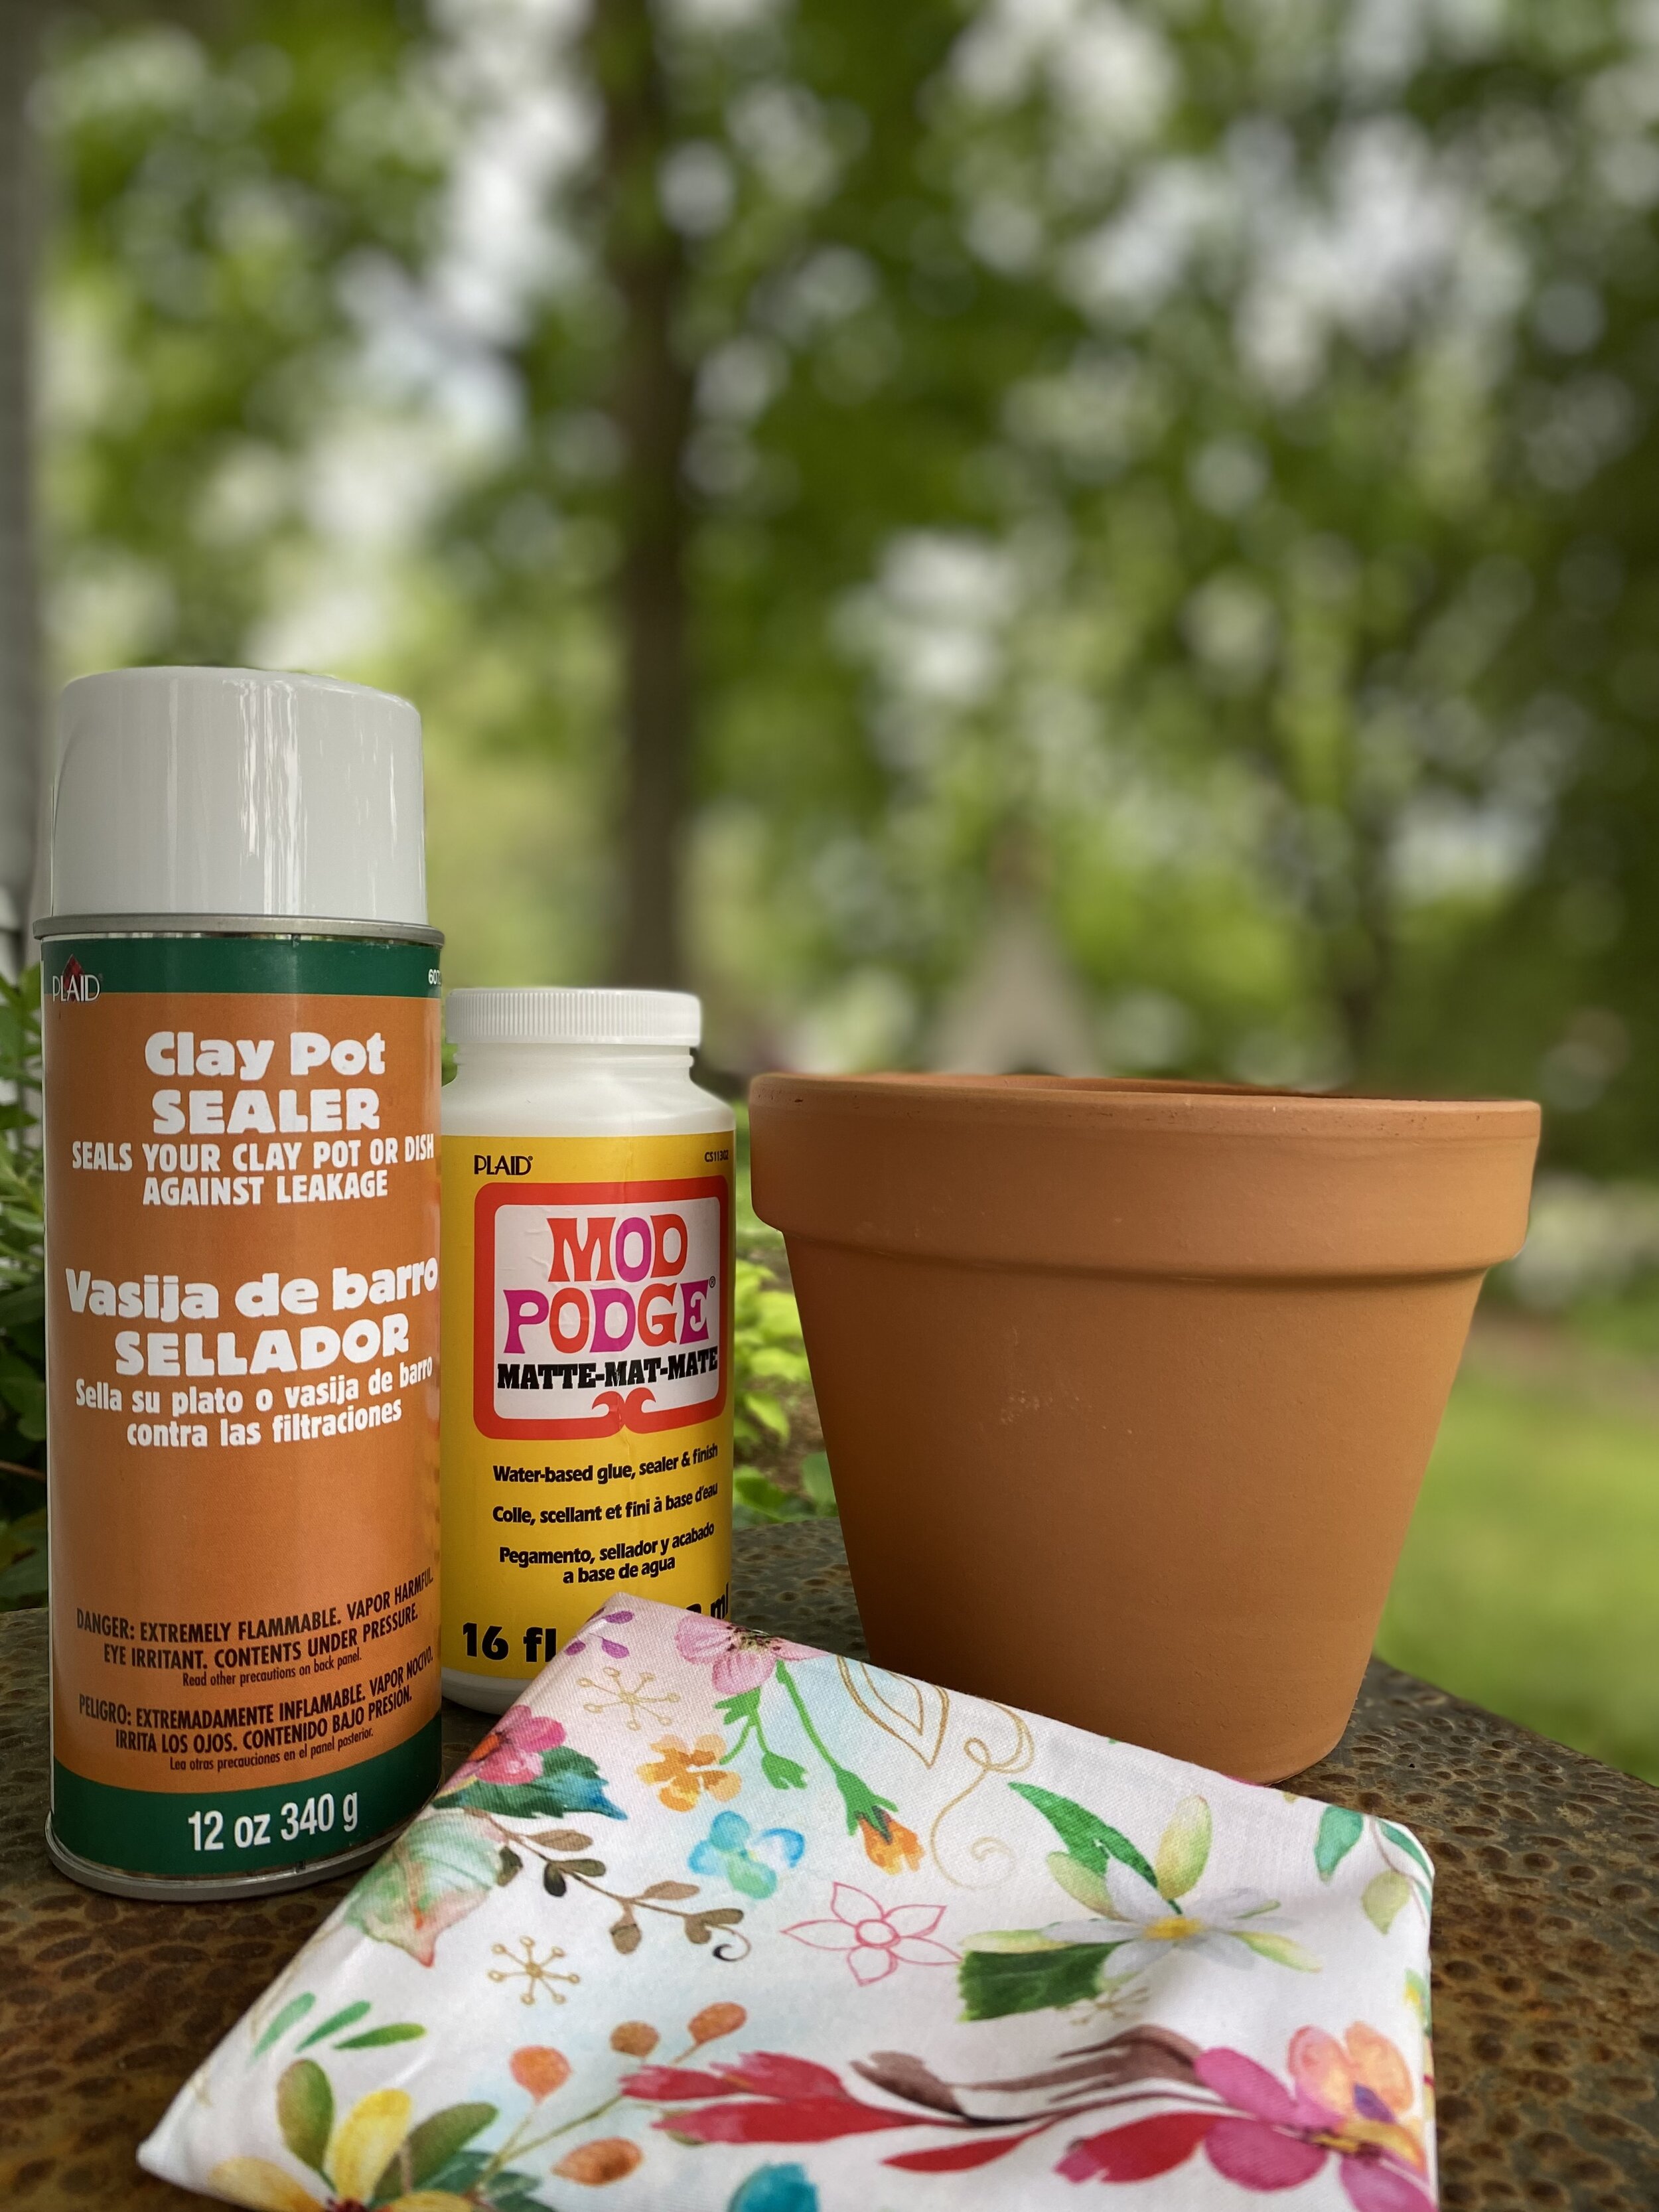
SO HERE IS WHAT YOU NEED:
Clay pot (Any size. I used 6”)
Mod Podge (I used matte because I didn’t want a glossy, shiny finish)
Fabric (I purchased mine from JoAnn Fabrics because it needed to be cute)
Scissors (If you have fabric or ribbon scissors, those are best. If not, just make sure they are sharp.)
Paintbrush
Clay pot sealer (Optional but I recommend it.)
HOW WILL YOU USE YOUR CONTAINER?
I knew that I wanted to put soil in my container so I purchased the clay pot sealer mentioned above on Amazon. It did add some expense to my project but I will now have it to use again. The purpose of this product is to prevent water from leaking out of the porous pot onto your fabric. This aerosol can is easy to spray on the inside of the clay pot but make sure you do it outdoors because it smells terrible. You will need to wait 24 hours for it to dry before putting soil in the container. I sprayed the sealer, waited 15 minutes, and then started the mod podge. If you are planning on setting a plastic pot inside or using a liner, you can skip the sealer.
INSTRUCTIONS:
I started by laying my fabric down on the ground and then I placed the clay pot on its side on the fabric.
You will cut the fabric so that it wraps once around the entire pot, leaving about 1/4” overlap. Be sure to leave fabric at the top and the bottom to allow extra room to fold it over both ends. I left about 2” on the top and bottom. Don’t worry if your fabric has a few wrinkles. It will smooth out as you use the mod podge later on.
You may need to cut small slits in the fabric as you wrap it around to avoid puckering.
Next, you will coat a small section of the clay pot with mod podge where the beginning edge of the fabric meets the pot. This will secure the fabric to your pot. Do not yet glue the top lip or the bottom of the pot. That will come later. The key to success with this DIY is working in small sections at a time.
Once the fabric is secured to the pot, you can begin coating the fabric with mod podge. Continue doing this all the way around the pot while still avoiding the top and the bottom.
When you get to where the two seams meet, slightly overlap them by approximately a 1/4”. After the entire pot is covered in mod podge, you will work at the top edge, cutting slits or folding the fabric into pleats so it lays flat around the rim of the pot. Then coat the fabric with mod podge. I cut slits in mine about 1½” to 2” apart.
Once the top dries, you can flip it over and repeat that step on the bottom of the pot.
Let the pot dry completely before adding in potting soil and plants.
You can also turn this cute pot into a gift basket filled with seeds and gardening supplies. Be sure to share your ideas with us and send your photos of this fun project to hello@wildrootflowerco.com.