How to Make Lavender Wands

Easy Summer Crafting
A step-by-step guide to making lavender wands.
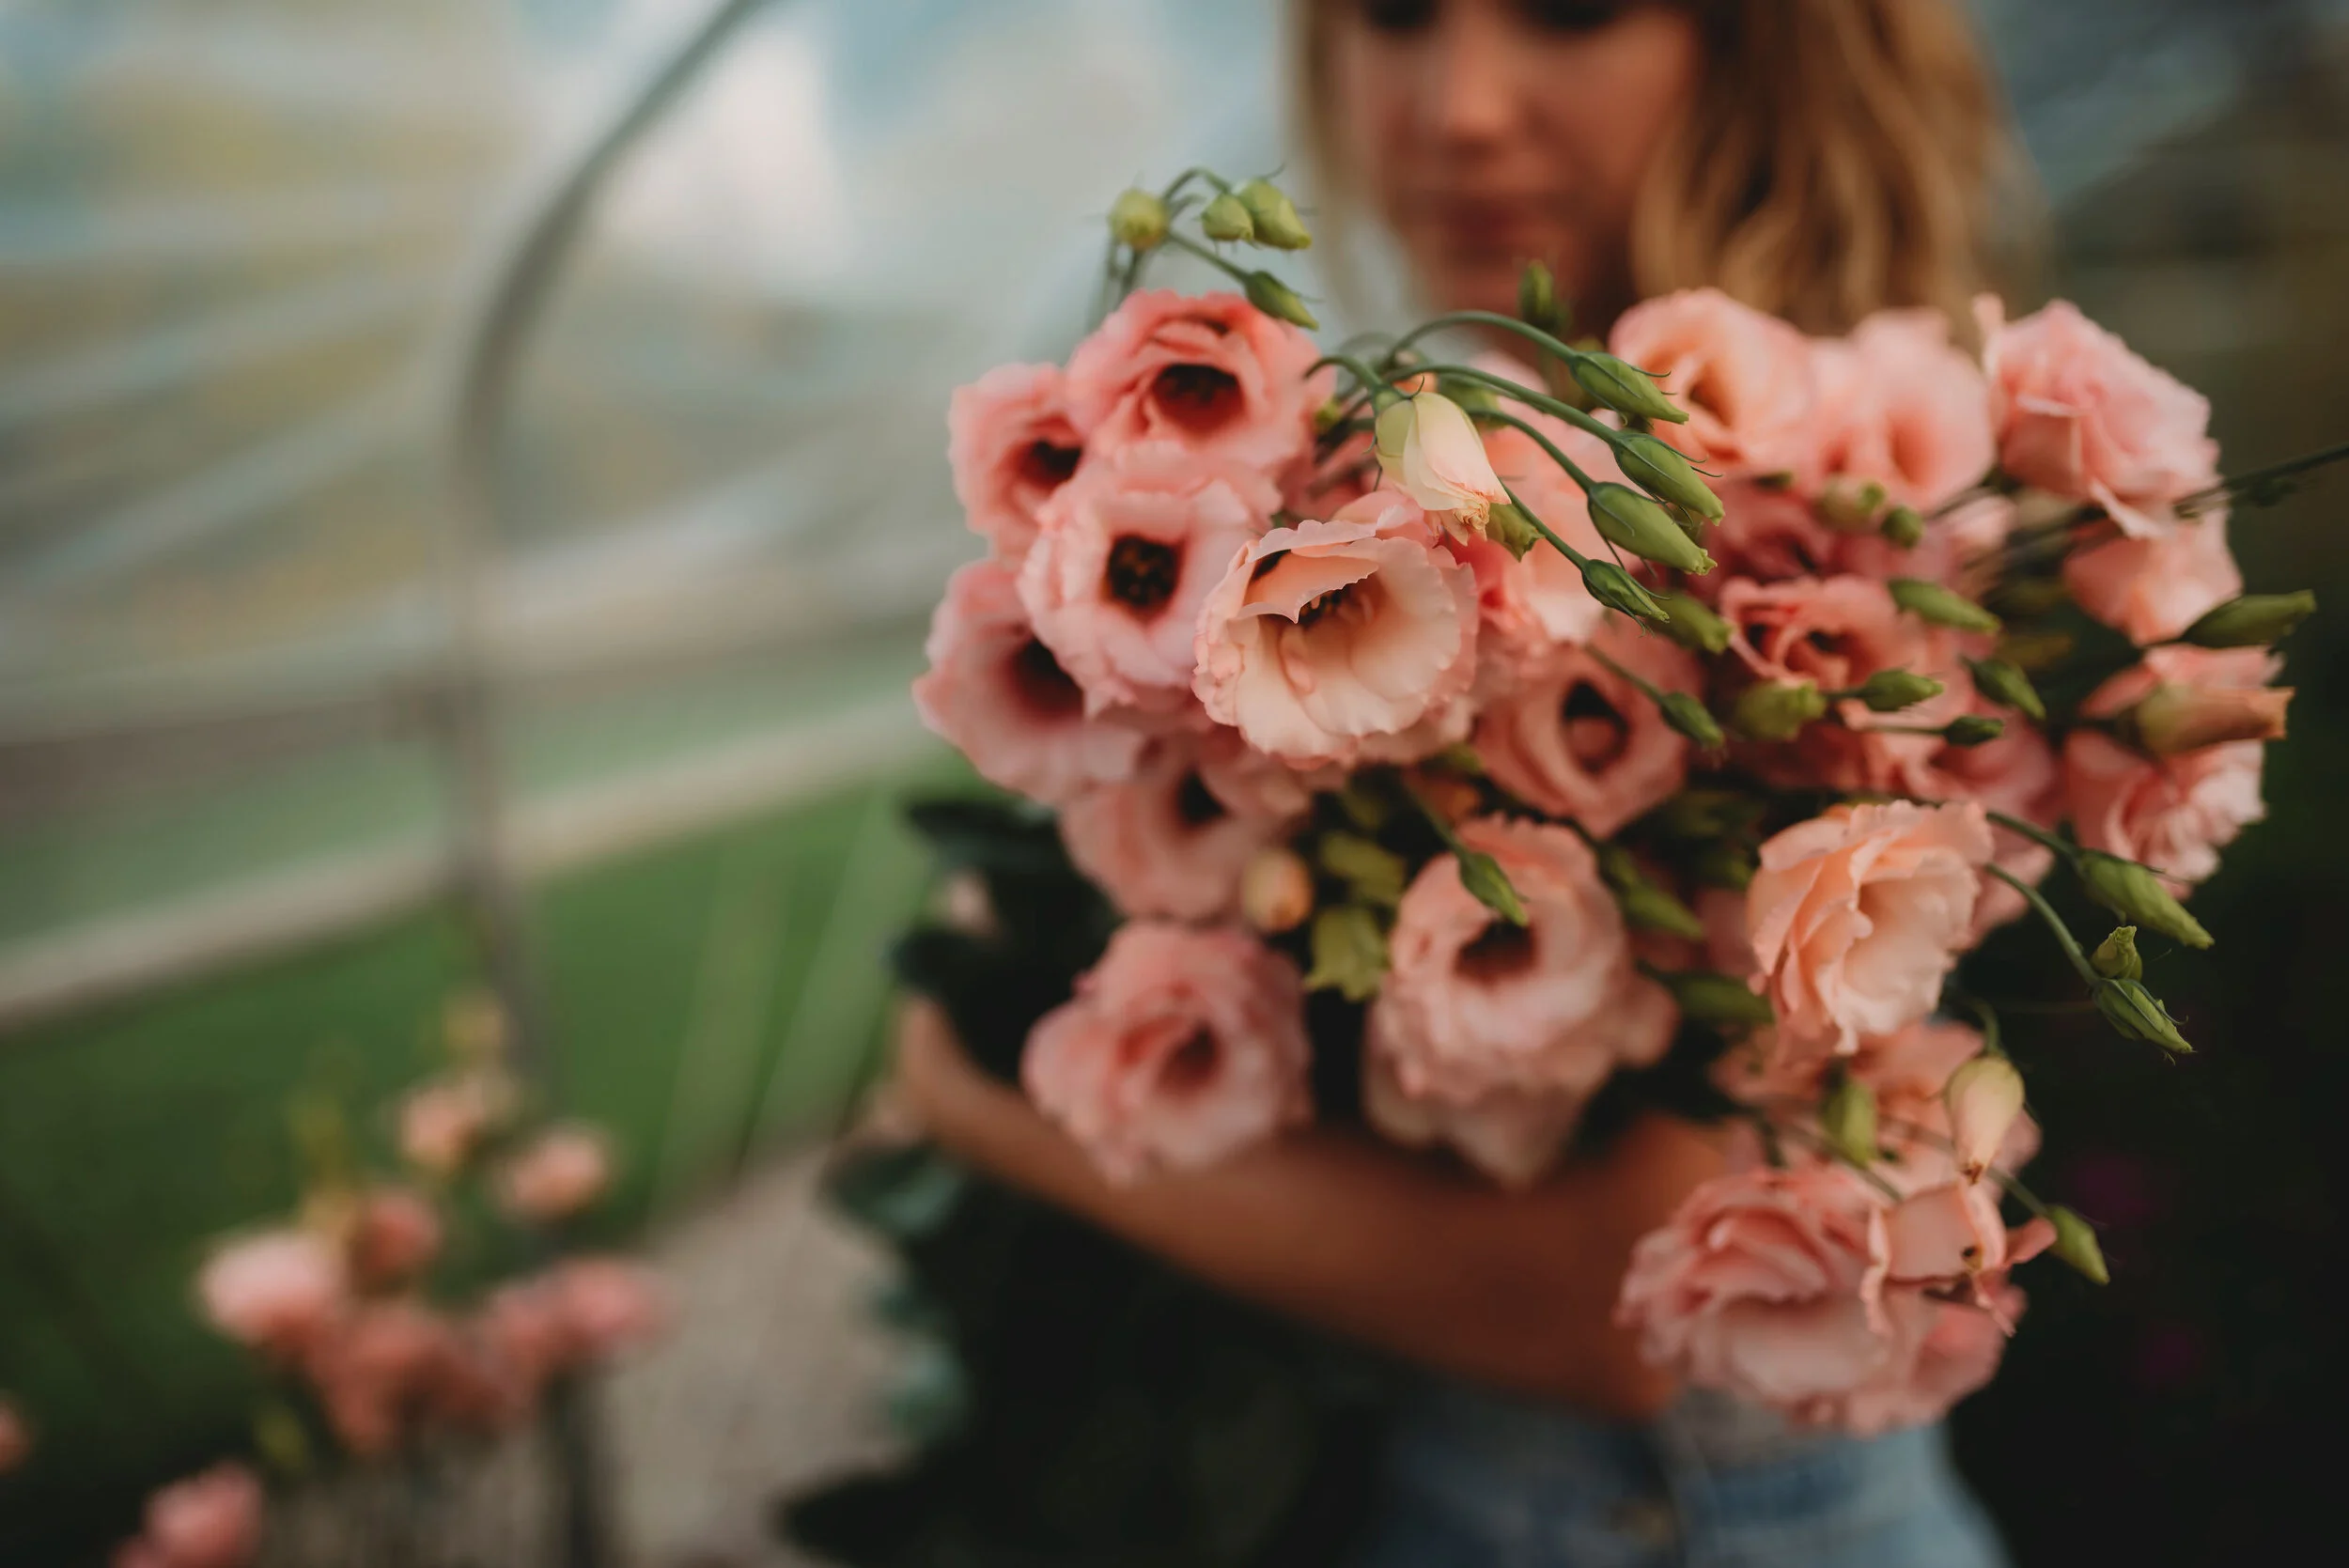
About eight years ago I went to visit my sister in Portland, Oregon and I visited my first lavender farm. The Pacific NW is the mecca of lavender farms and I was in heaven. Their growing conditions are nearly perfect for these finicky little plants. I was in awe of the massive fields. During my visit, my sister planned the sweetest day for us, visiting farms and heading back to her place to make lavender wands. During this trip was the first time I also visited a flower u-pick and fast forward a few years later, I created my own.
This trip was so memorable for me which is why I think I have a special place in my heart for lavender wands. I actually still have the first one I ever made on that trip in my dresser drawer.
You can complete this quick and easy project in less than 30 minutes. Lavender wands make lovely gifts or can be sprinkled around your home in dresser draws. One of my favorite spots to keep mine is underneath the front seat of my car. I love opening my car door on a warm day, and the smell of fresh lavender rolls out. The best part about these easy little wands is they last for years. You can simply roll the wand around in your hands, crushing the florets inside, releasing more scent.
Here is what you need to get started:
Fresh lavender. I prefer Lavendula angustifola because that variety of lavender has longer, more rigid stems that make it easier to work with. You will need an odd number of stems. For the wands I made here, I used 15 stems, but you can use as many as you want. It just requires more weaving. I like the stems to be at least 8” long.
Scissors
An arm’s length of Satin ribbon - 3/8 or 1/4” works best.
Start by counting out the number of stems you want to work with. The more the stems the bigger and bulkier the wand. It also creates more fragrance the more stems you have.
Stripe all the small leaves off of the stems, including any smaller flowers that might be just below the flower heads.
Gather all of your stems and make sure the bottom of the flower heads are at the same level.
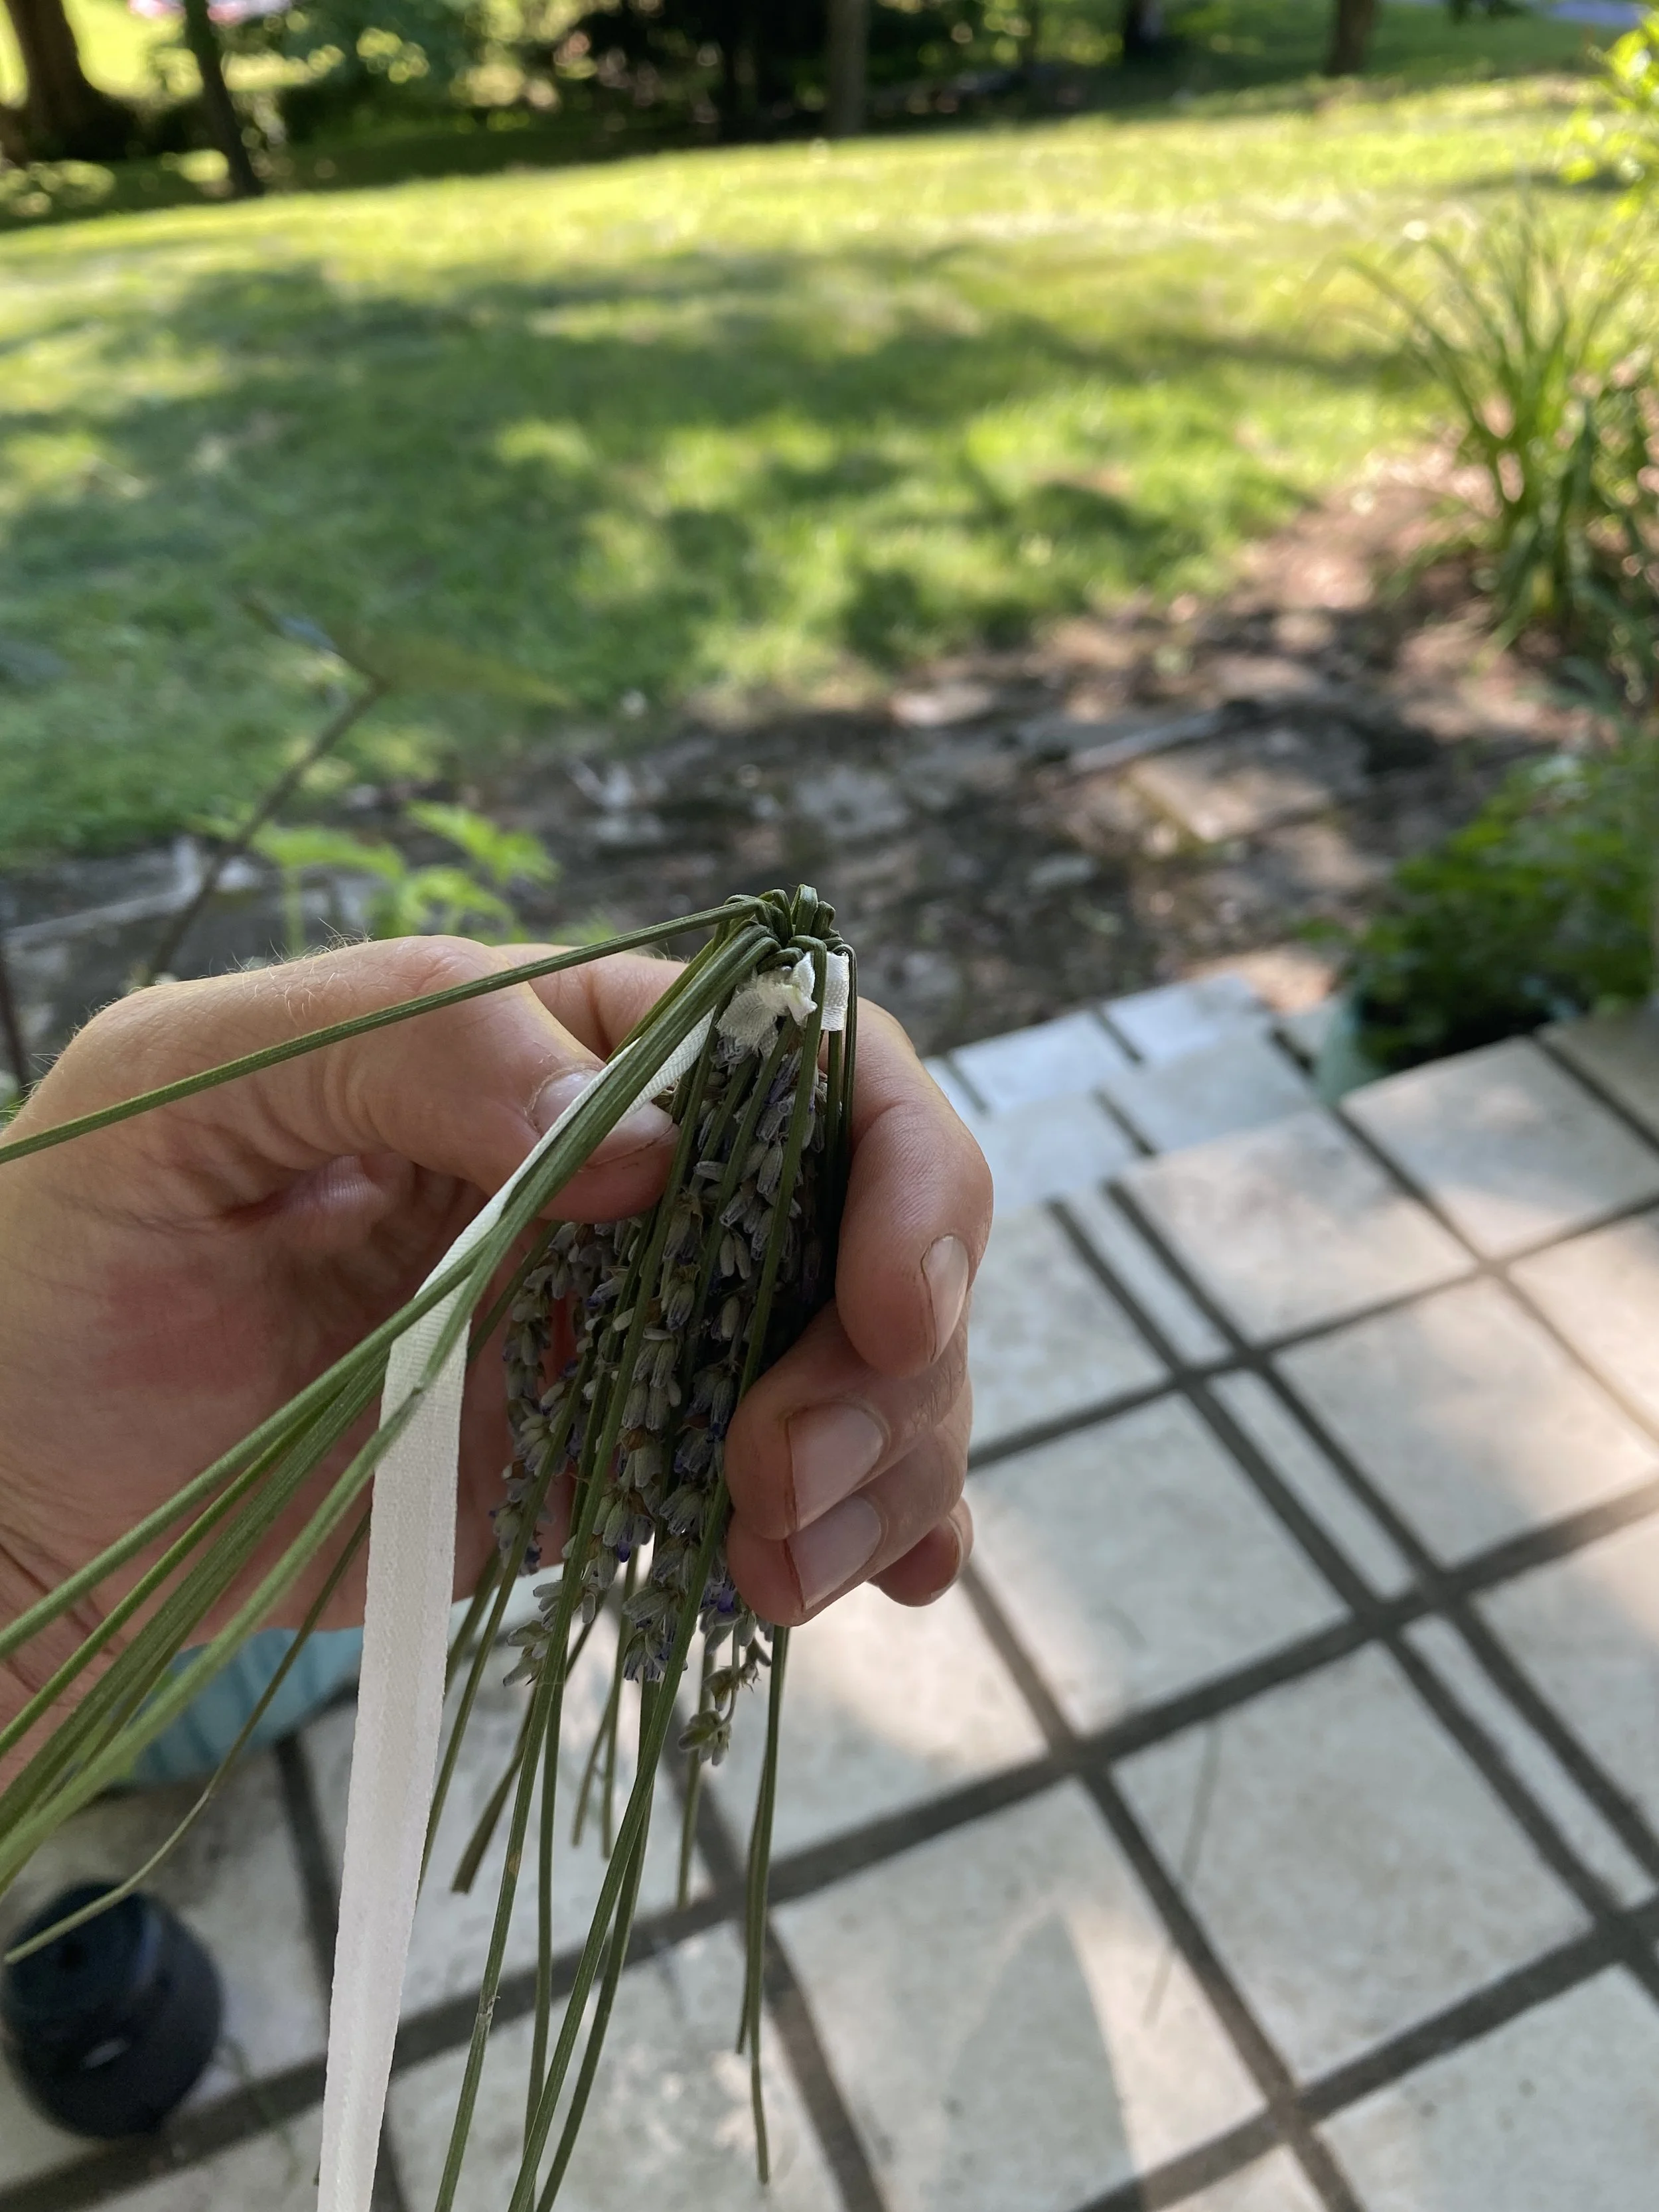
Now at the base of the flower heads, you will tie one end of your arm-length ribbon tightly to the base of the flowers.
Next, you hold the lavender flowers in your hand and individually bend the stems back over the lavender flowers to create a cage. Try to spread the stems out evenly around the flowers. This will help spacing when you are weaving the ribbon through the stems. I think using slightly wilted lavender helps the stems bend easier.
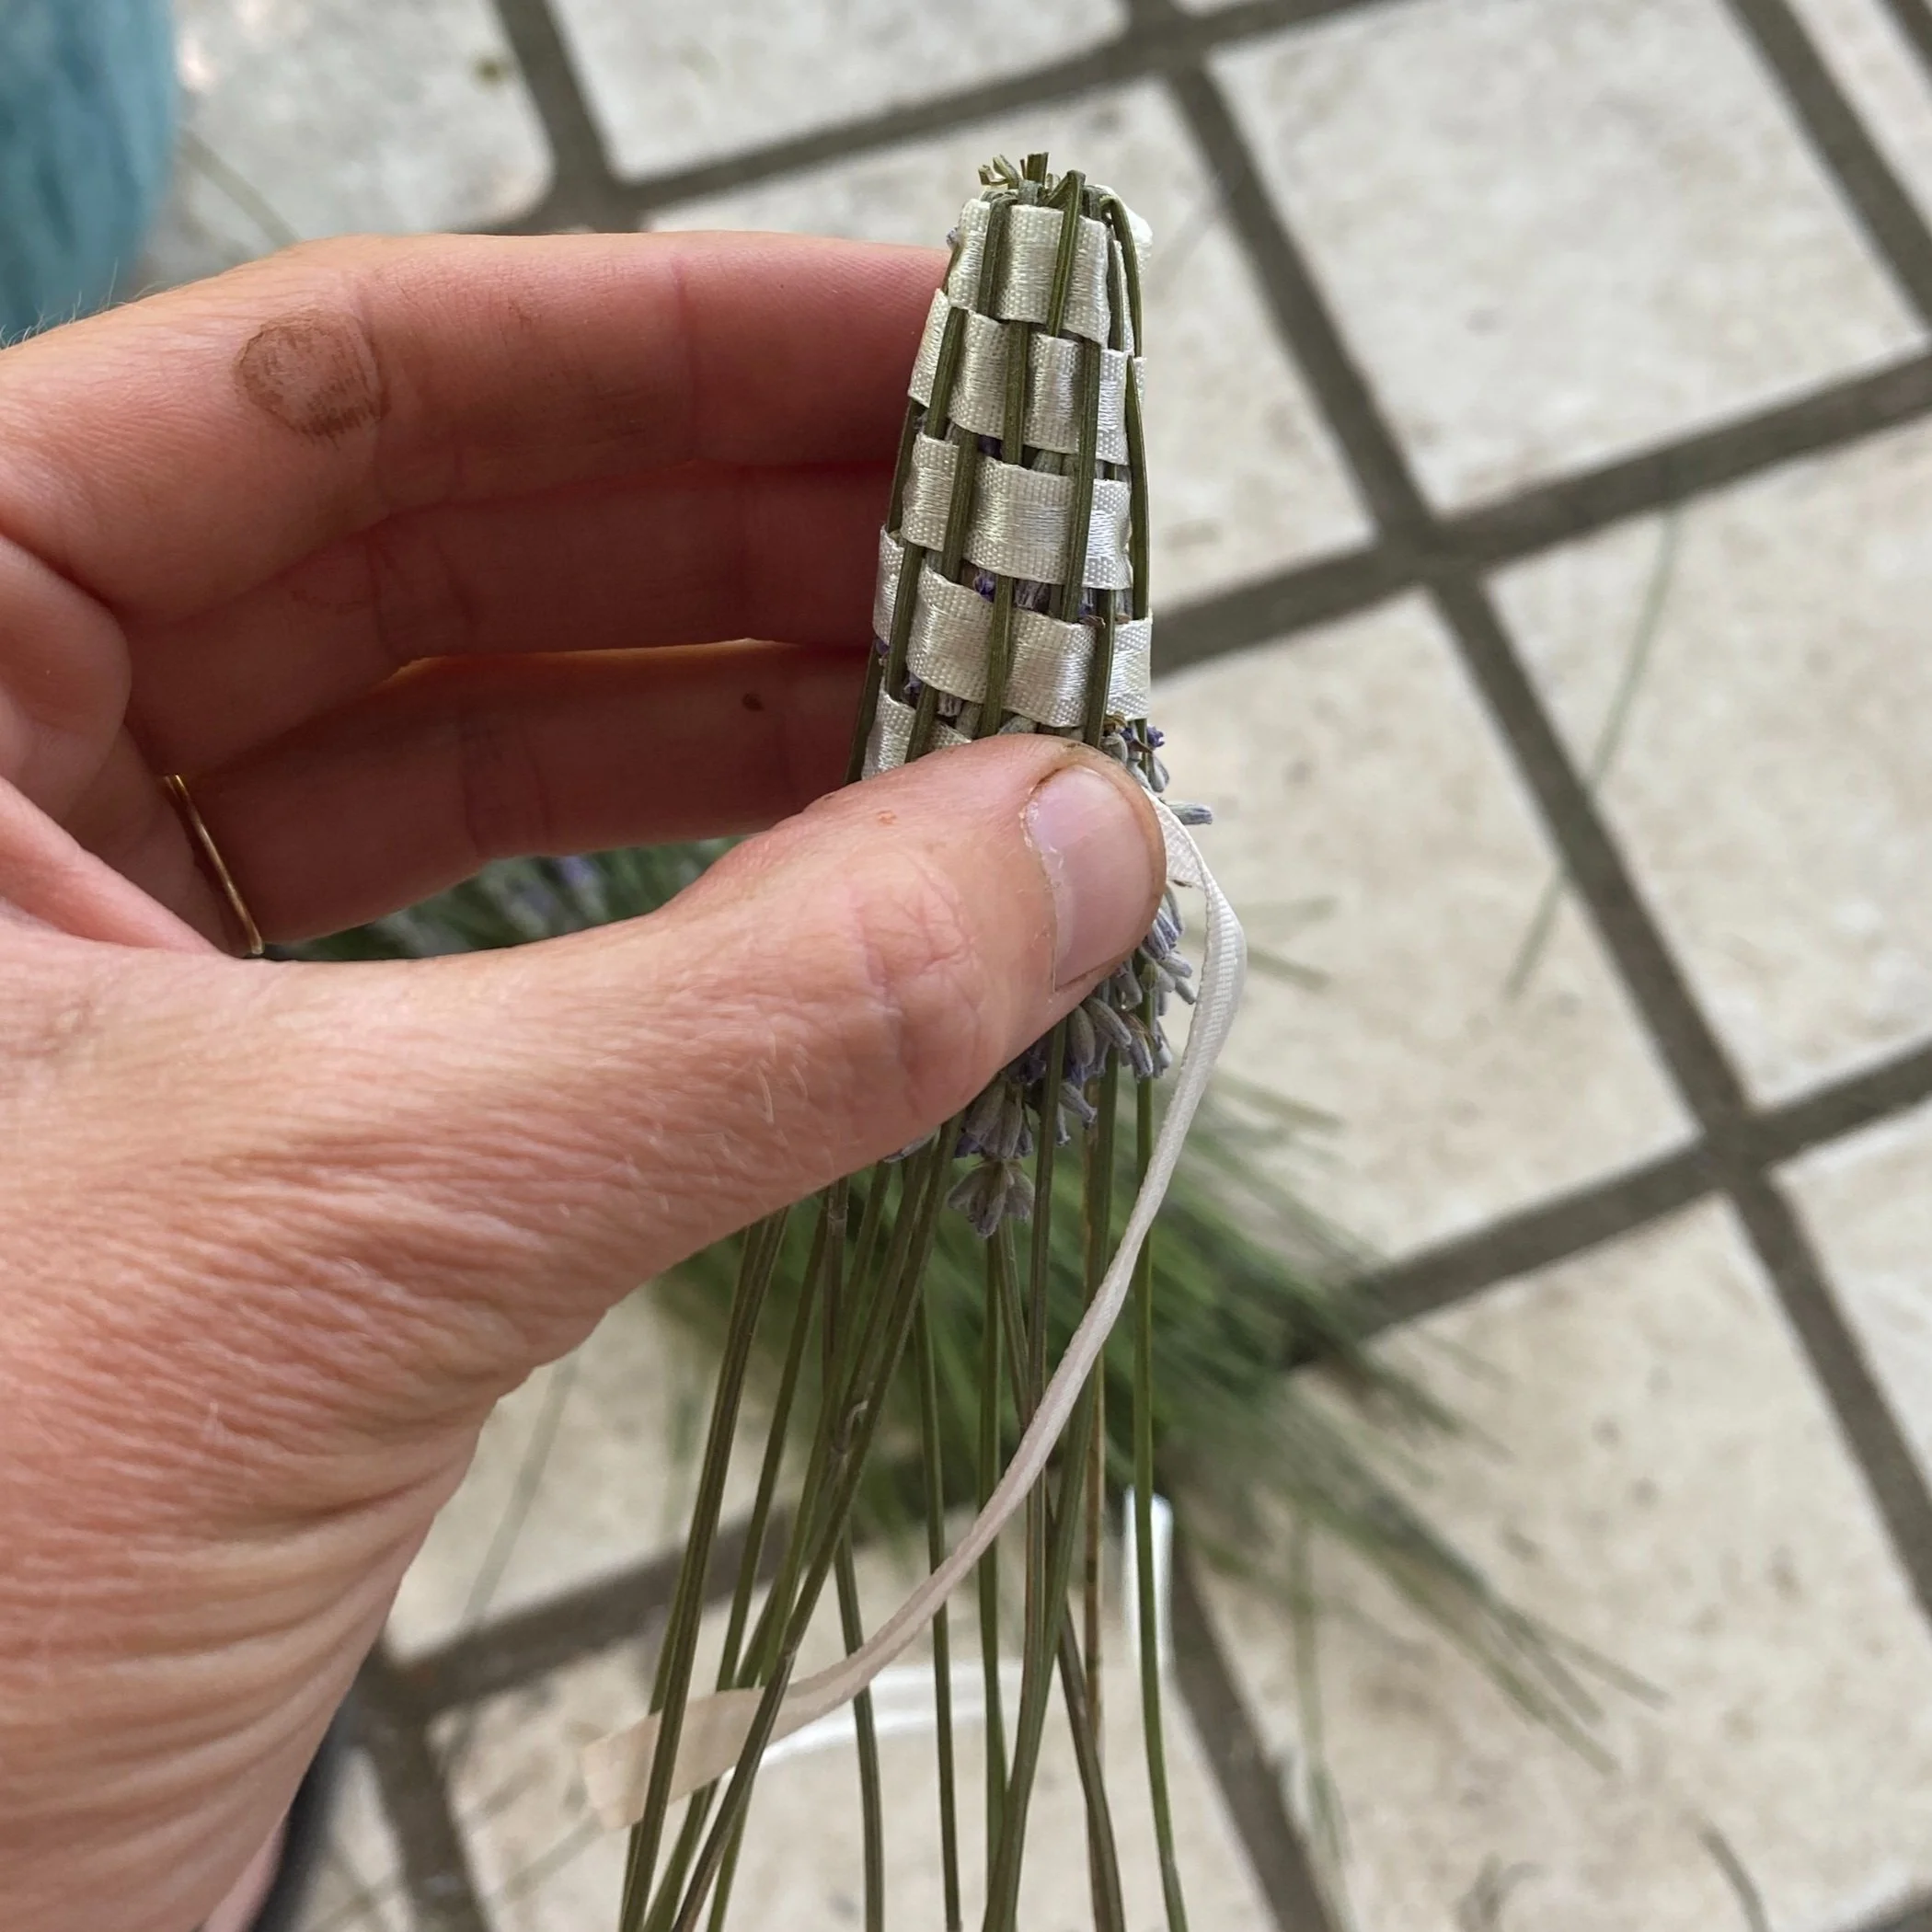
Pull the hanging piece of ribbon through the cage and start weaving. This part for me requires the most patience. You start by alternating weaving over and under the stems around the cage. It is a bit tedious in the beginning but gets easier as you get further down the wand. Be sure to keep the ribbon snug because as the lavender dries it will shrink and cause the ribbon to loosen.
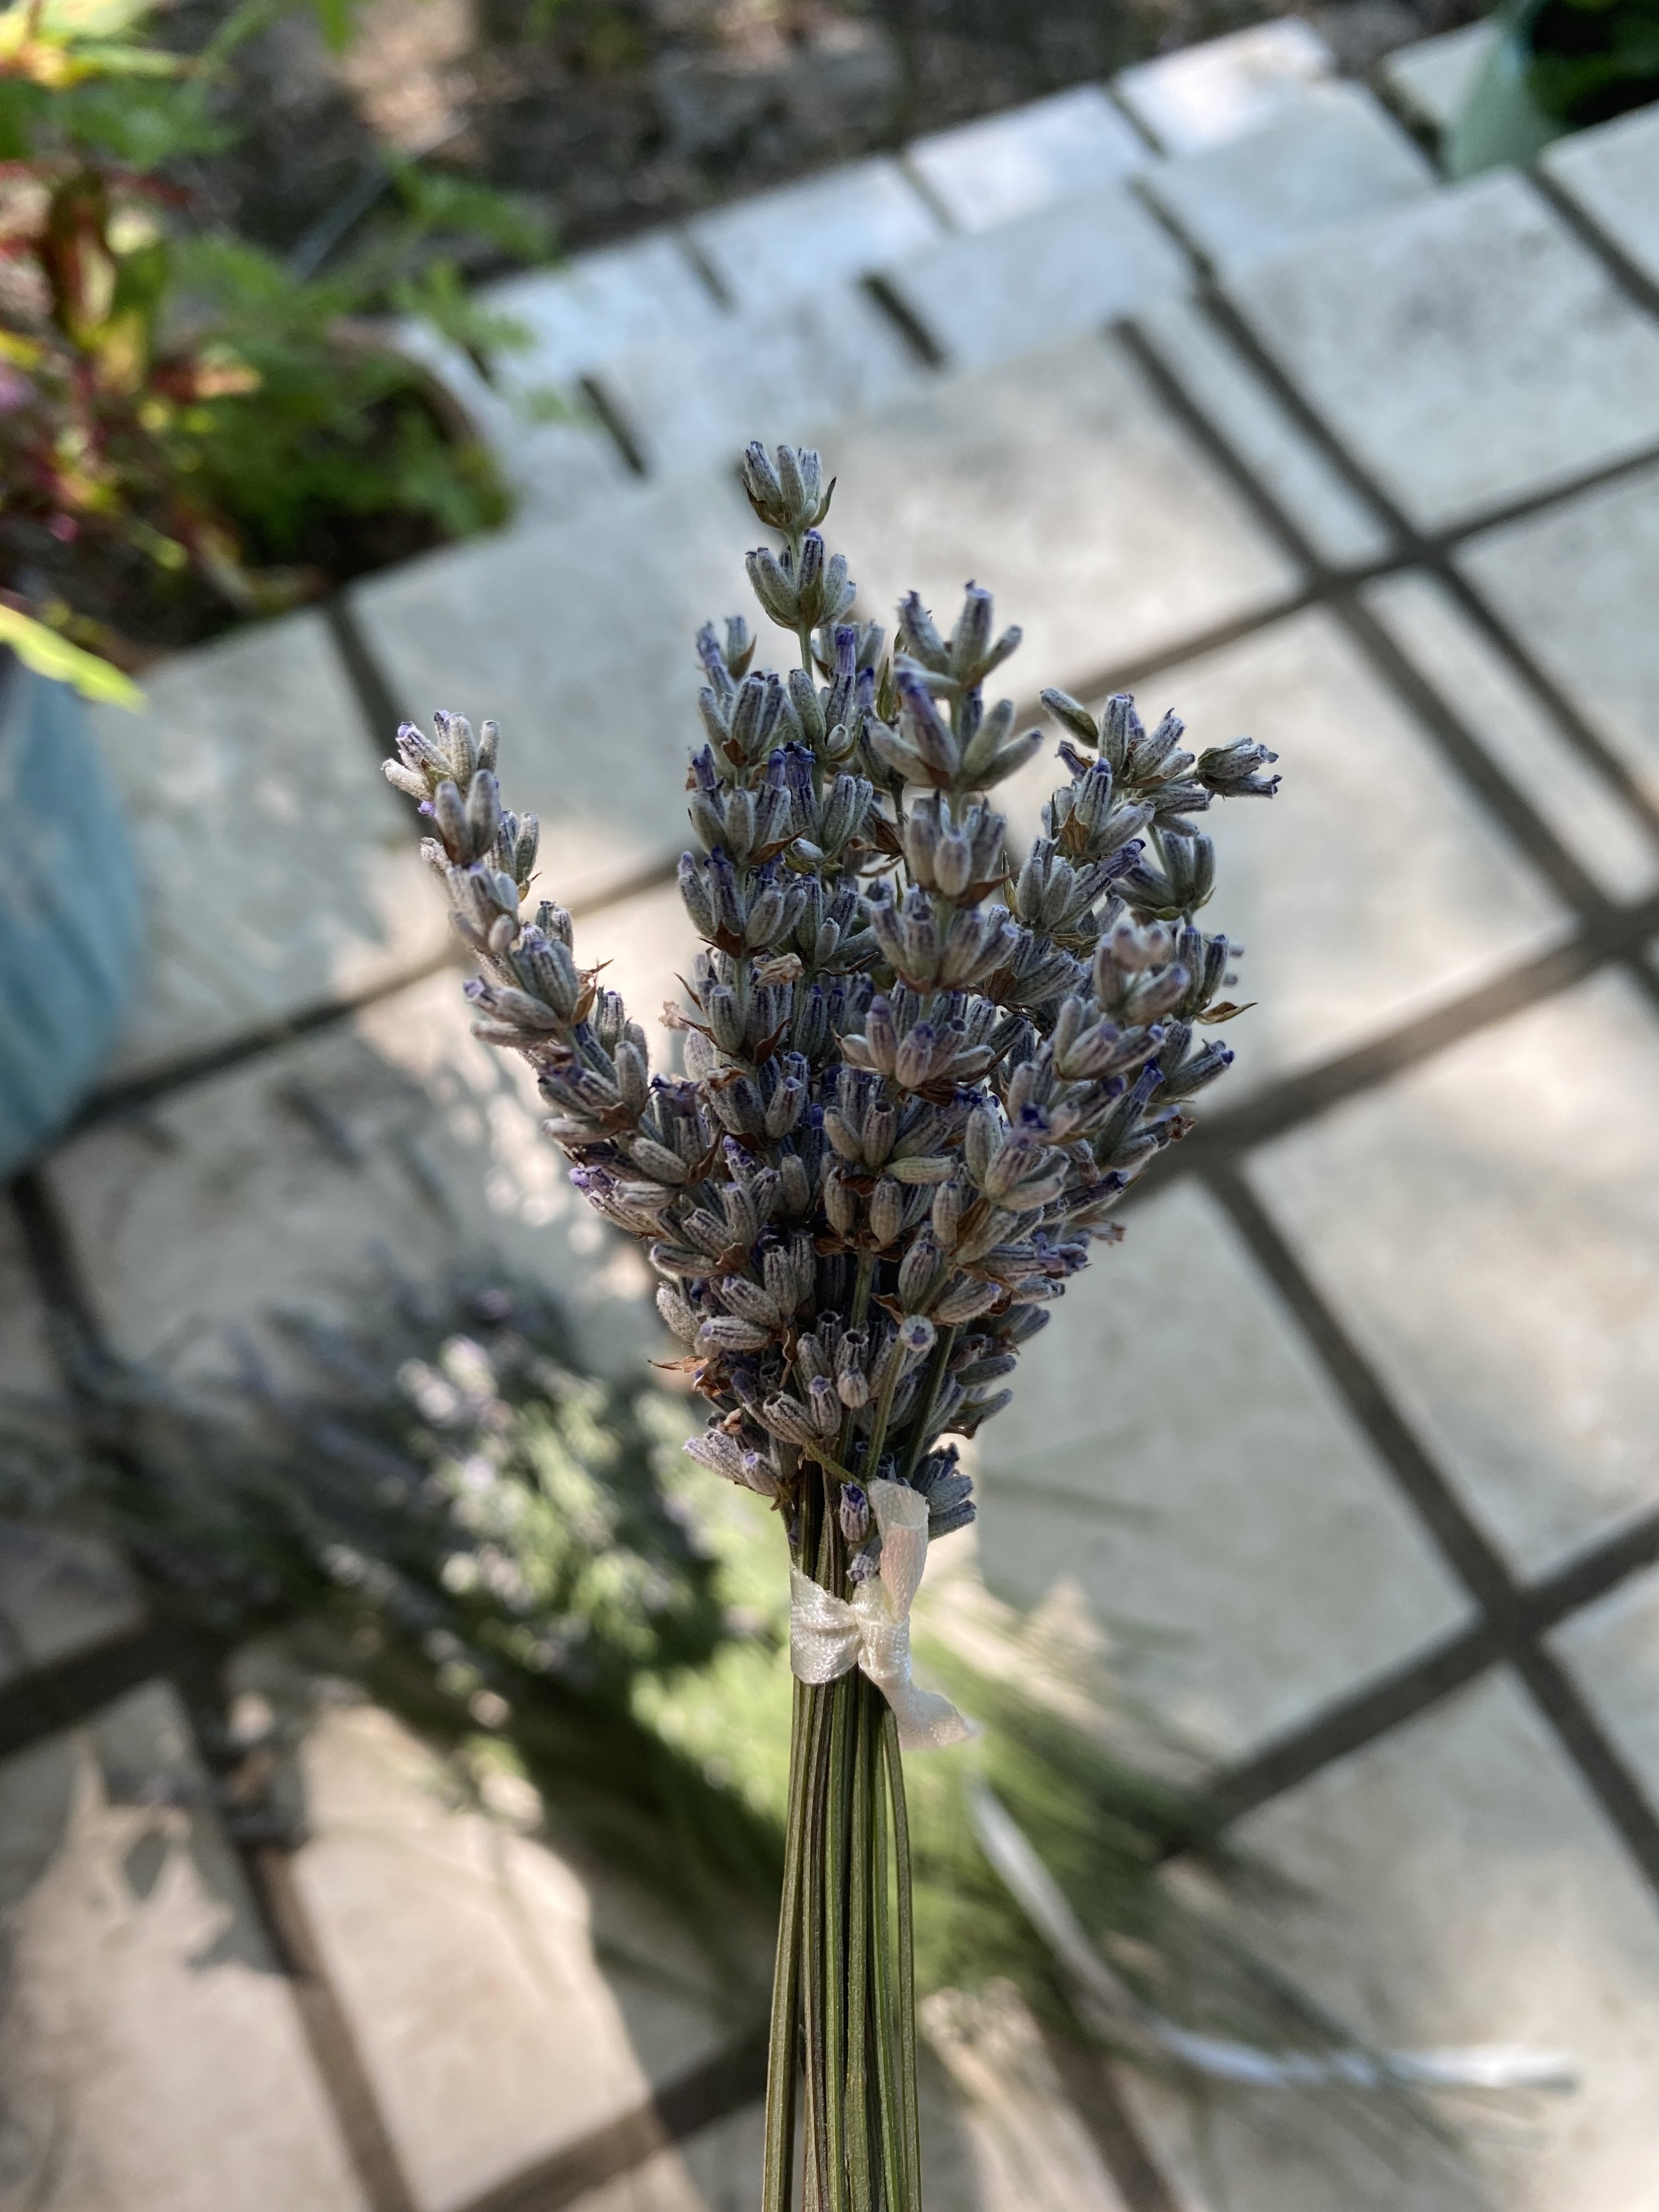
Once you reach the bottom of the wand, wrap the ribbon around the base a few times to keep everything secure, and then tie it into a bow or knot.
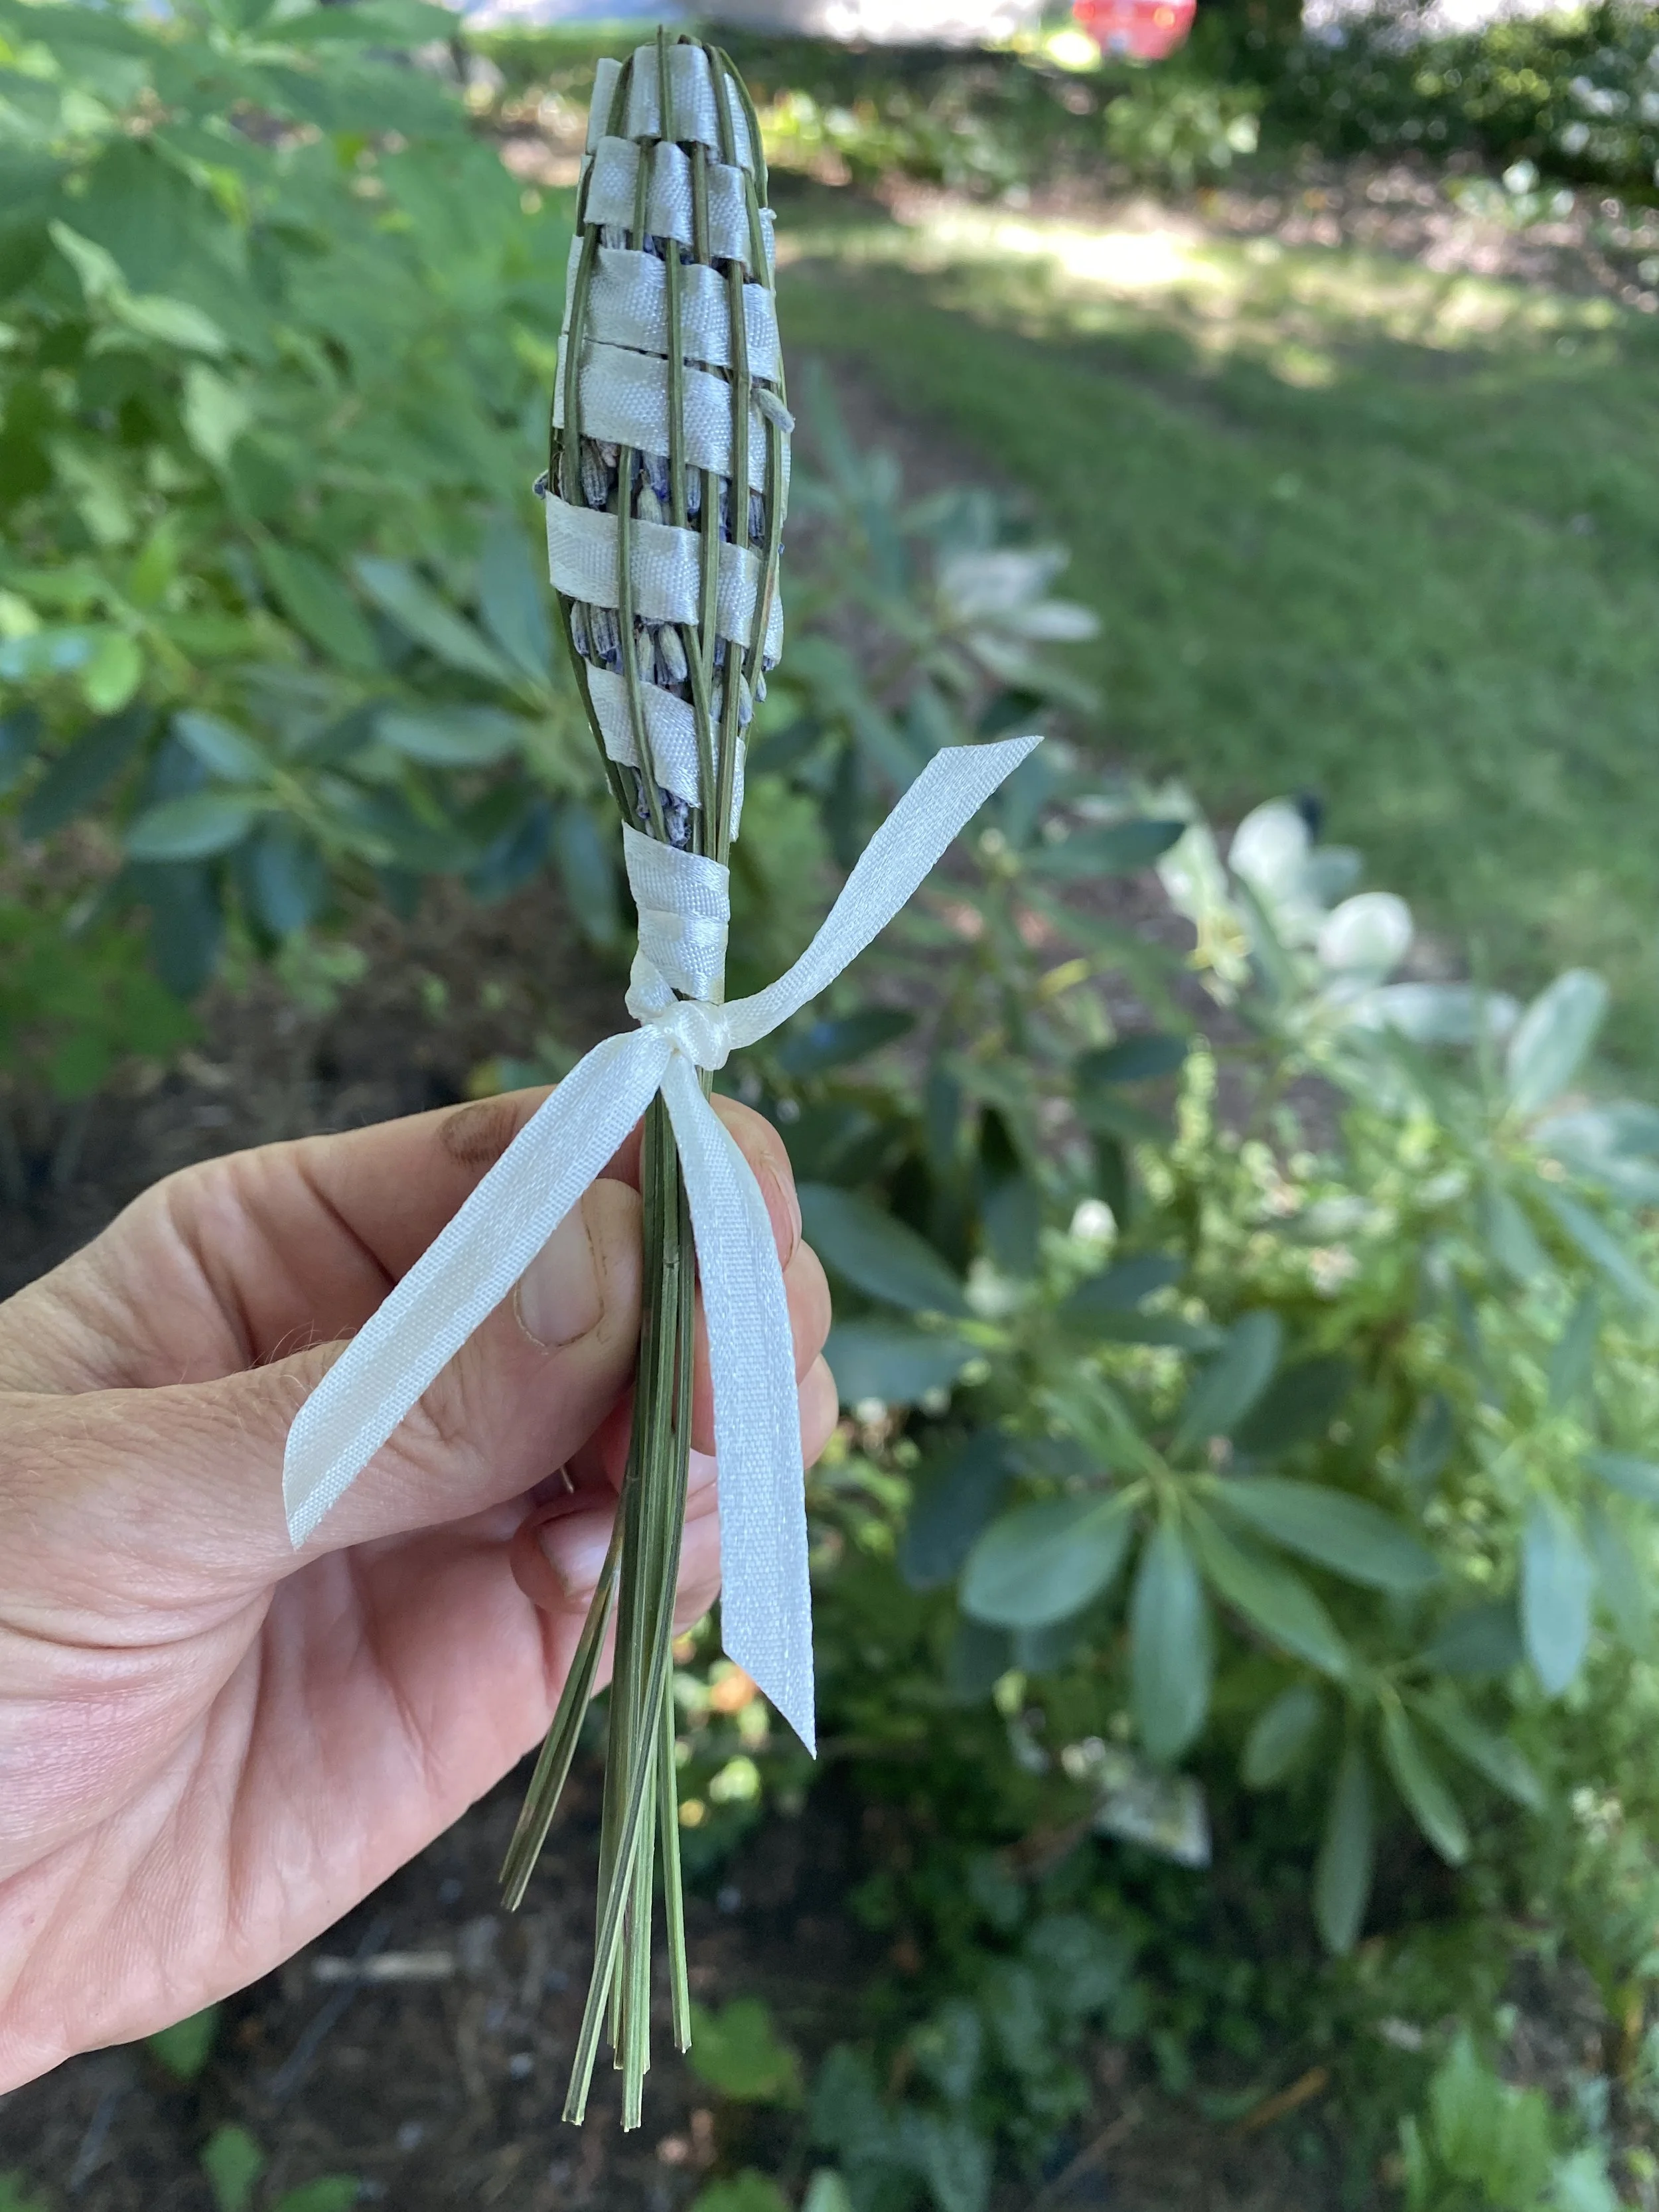
I like to leave my wand hanging for a few weeks in my kitchen to dry before placing it next to any garments. It’s such a fun and easy craft to keep for yourself or store away in a box for Christmas gifts.
I hope you enjoy this easy little project as much as I do.
For the love of ourselves and trying something new,
Lyndsay